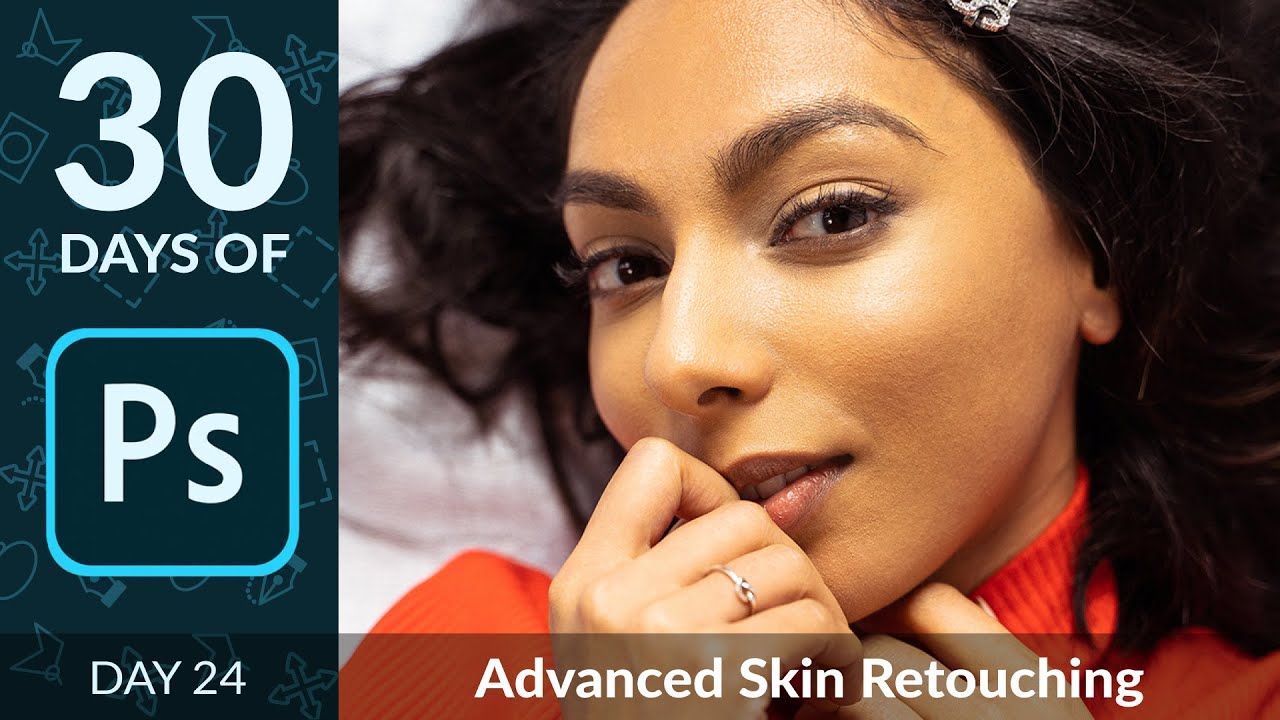
On this video tutorial, the third in a series (see the first two below), Aaron Nace from Phlearn goes over some techniques for portrait retouching including dodge and burn as well as some simple sharpening the get the most out of your image.
Nace starts with some dodging – we start with an adjustment layer and we are going to use a soft edge brush with low flow and the size of the brush should be around the size of the area you want to work on. You should start with a low percentage (say 10%) and you can go over the darker areas – for example around the eye/eyebrows, lips, etc. This should be very minimalistic – anything too bright might look unrealistic.
You can do the same thing with shadows – this time making things darker. Create an adjustment layer and turn the darker areas just a little bit darker. Again these are not meant to be huge changes but minor ones that will create a contrast (this is basically the same thing as makeup is doing – making dark areas darker and bright areas brighter).
Now we move to the sharpening part. Nace suggests that you sharpen very specific areas – in particular, the eyes. Again we will create an adjustment layer and there are many ways to sharpen. In this case, Nace shows how to use the sharpen tool and choose to sample all layers and make sure to protect detail is on and put the strength to about 50%.
As with before you will be using this very minimally in just the right areas (eyes, eyelashes, lips etc.) and of course you can always reduce the opacity or pain with black/white instead).
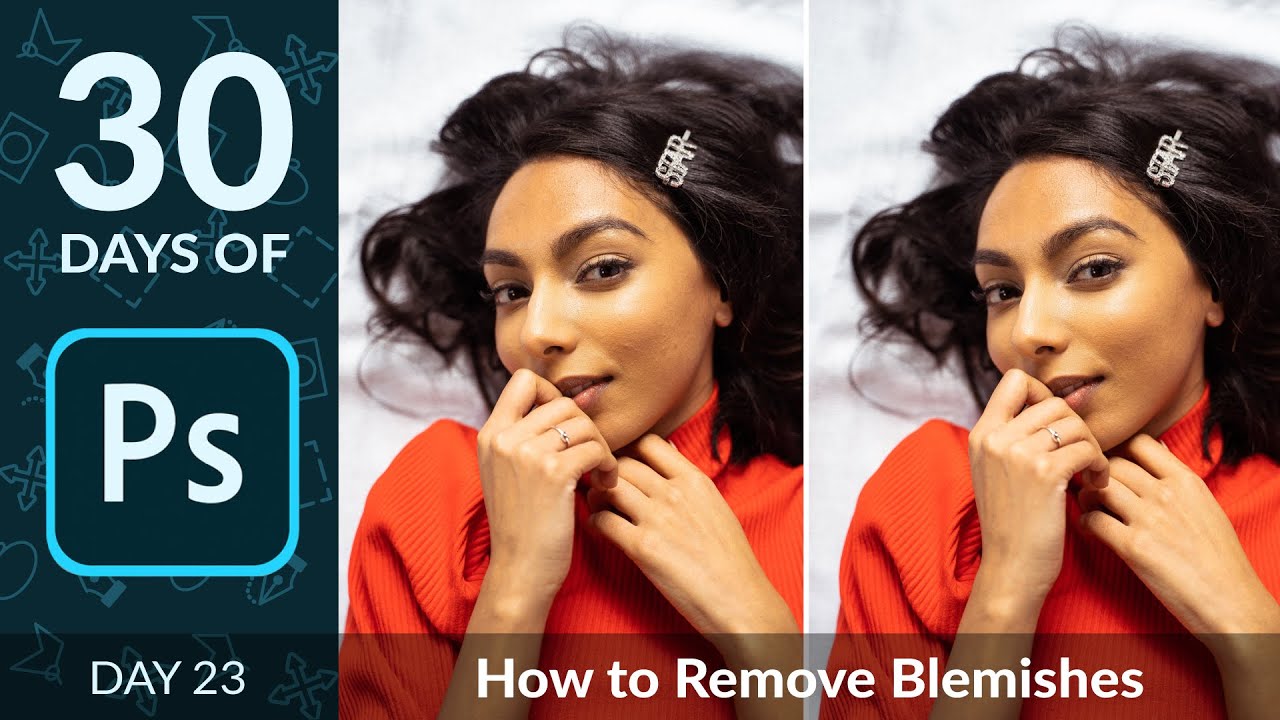
The first video in this series: removing blemishes from a portrait in Photoshop

The second video in this series: frequency retouching in Photoshop

You can find many more Photoshop video tutorials on LensVid’s Photoshop section (you can also find a lot more Phlearn videos on our special Phlearn subsection).

You can support LensVid by shopping with our affiliate partners
Affiliates: Amazon, B&H, Adorama and E-bay.
Why should you trust us?