Today we are extremely proud to announce the start of a new and ambitious review series here on LensVid that will look at tripods and heads from all the major manufacturers as well as some interesting offerings from a number of lesser-known brands. Before we dive into the series itself which will continue thought 2016, we want to give you a comprehensive guide that will discuss all the different aspects that we feel are important when looking for your next tripod.
Tripods might appear fairly simple (three legs usually with a center column in the middle to help you steady your camera), but as you will discover in this guide – there are actually a lot to consider here and when it comes to tripods – one size definitely does not fit all.
We shall start with a look at all the main features that we think that you need to consider when going to buy your next tripod.
Tripod features – what to look for
There are quite a few features that you should be looking into when considering a new tripod, but before we get into that you first need to determine for yourself two main things:
- What are your needs
- What is your budget
Let’s look at the easier one first – budget. There are (decent full size) tripods ranging from sub $200 and up to and above $1000 for top high end models. Many basic and mid-range models also come as kits with a head (usually a ballhead – but we shall talk about heads later on in this guide).
All sorts of things affect the pricing of a tripod – materials, size, features and product quality but to a great extent brand is a big factor here and in many cases, a respected brand name will cost more than a lesser-known one (but don’t get us wrong – some brand names got their respect by producing high-quality gear for many years so for them it isn’t all just good marketing).
One last thing – if you are a more advanced shooter and maybe this isn’t your first or second tripod and you will need ahead – you might be better served by getting it separately and choosing one which isn’t part of a kit – just prepare to pay another few hundred dollars – depending on what you choose exactly.
There are many features to look for in a tripod
 Now we can get back to the first point which needs some elaboration. There are 3 main categories of tripods: travel tripods which are usually very lightweight and compact and designed to be operated outdoors, Studio tripods which are much more robust, tall, and typically less compact, and finally you have the all-around tripods which are somewhere in between.
An important note: the term “all-around tripods” isn’t an industry standard but more of the way we divide the different categories – some brands might have other category names for these types of tripods while others might not assign any specific category – or worse – assign them to a different one (typically a lighter one which is considered very popular these days), so make your own judgment about how you look at each tripod based on its specifications and not the way the manufacturer marketing department decides to call it.
If you intend to buy a tripod you need to figure out which of those fits your needs. If you are mostly going to shoot outdoor and carry the tripod while hiking – you might want the most compact and light travel tripod that you can find which does not compromise stability. If you are going to shoot products in a studio you would want a super stable platform, and weight is probably not going to be an issue. If you plan on doing both – you should probably be looking for an all-around tripod.
Now that you understand the “tripod landscape” and decided on what are your needs, requirements and your budget, let’s consider some of the features that we think you should be looking for when considering your next tripod:
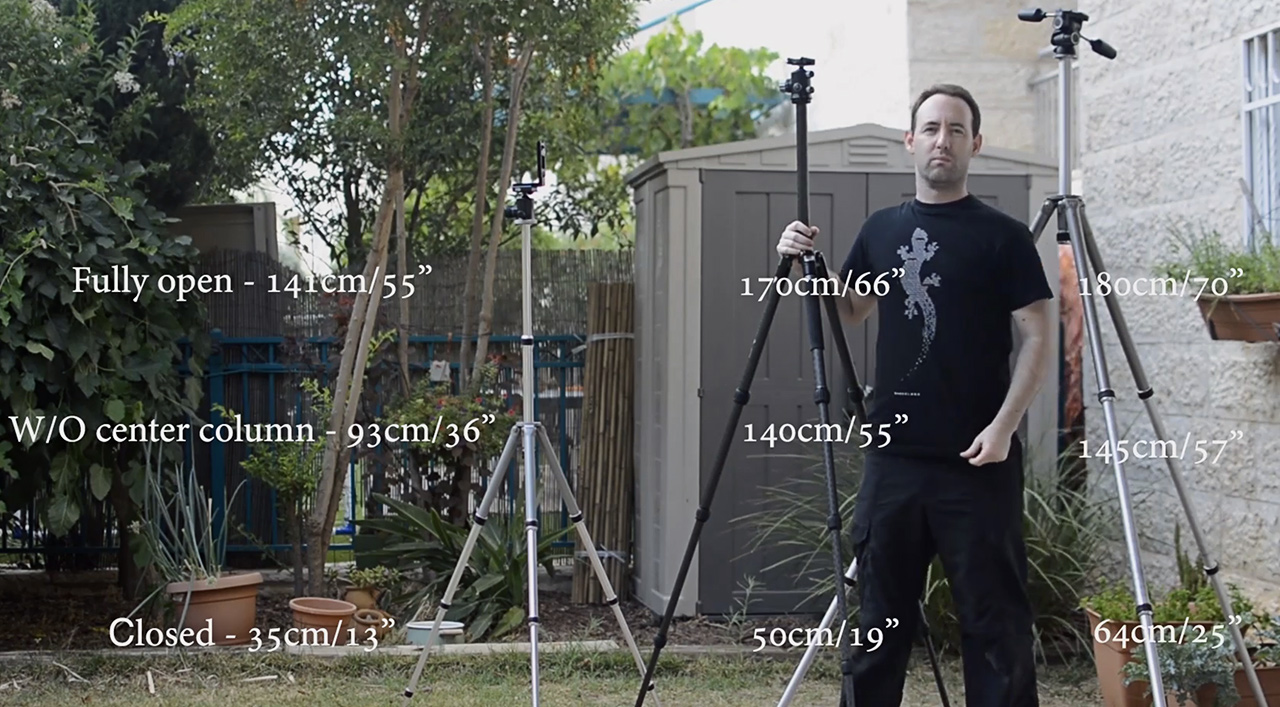
- Size and weight – the first thing you should consider is the size of the tripod. Actually, you need to consider two sizes – closed and open. Anything below 50cm/19″ closed can be considered relatively compact while tripods below 40cm/15″ closed are usually very traveled friendly. The problem with these compact tripods is that they are usually also pretty short when open. Depending on your own height and what exactly you are going to shoot, you should consider the max height that you will be looking for in your potential tripod. For us anything below 140cm/55″ without the head won’t work – if you are taller you should probably consider a higher tripod. Of course having a tripod that can go up to 180cm/70″ or even over 2 meters/6.5 feet can be important for studio work or in case you plan to shoot from a very high up – downwards.
–
What size tripod do you need? (from the video)
 The other side of the coin is how low can the tripod go. If you plan on shooting from a very low angle – either for macro or any other type of shooting you would want a tripod that can open to about 20cm/7″ or even lower from the ground and can easily switch the center column for a ballhead without the need for tools or extra parts (some tripods need those and they can get lost over time). Weight is another important factor you should consider – anything between 1-2 kilograms is lightweight enough for travel and anything above 2-3kg/4.4-6.6lbs can be considered a more robust studio tripod. Since stability is a key factor for any tripod, having a heavier tripod will usually (but not always) signify a more stable platform – of course when it comes to the weight of your tripod, you have to choose for yourself if the cost in portability is something that you are willing to live with.
–
How low can you go?
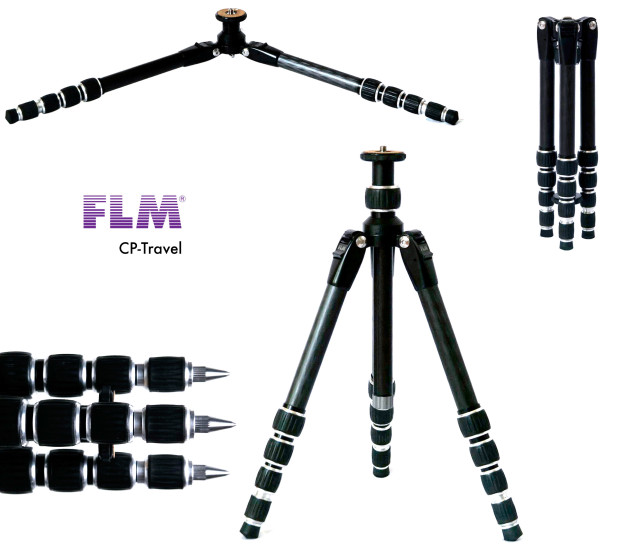
- Materials – metals like aluminum and even wood were, and still are, used to build tripods, but in the past decade or two, we started seeing more and more carbon fiber tripods. You can usually recognize them by the special pattern they have on the legs. Carbon fiber is strong and light but it is usually more expensive than aluminum. Carbon fiber can be great when you want something light for travel but if you need a very heavy duty and stable studio tripod – this might actually be a downside. Online you can also find some claims that aluminum is more durable than carbon fiber and on the other hand that carbon fiber transfers fewer vibrations than aluminum – we have yet to see evidence to these claims ourselves. Not all carbon fiber tripods are born equal – some have more layers (6, 8, and in some rare cases even 10 layers (see this upcoming super light tripod from FLM we covered recently), which, at least on paper should make them stronger). However the number of layers is not the only criteria for how strong a tripod really is, the quality of the carbon fiber and the quality and method of manufacturing plays an even bigger role here – so keep this in mind. As a side note, it is worth mentioning that recently Gitzo came up with a basalt fiber tube for tripods – they are supposed to be a cheaper alternative for carbon fiber and are still fairly new to the market. However, at this point reviews seems to indicate that carbon fibre tripods still have the upper hand.
–
The upcoming FLM 10 layer carbon fibre compact tripod - Legs – the legs are the main part of the tripod. They are divided into sections which can be opened and closed quickly using locks – we shall talk about both of these in a second. However, you do need to be aware of the thickness of the legs. The thicker the legs the more stability you are likely to get. It is also important to check the thickness of the narrowest leg sections of the tripod, when the tripod is open all the way down, since as you know – a tripod is only as good as its weakest link (in the video we show a demo of the difference between a studio tripod with a 24mm/0.94″ lower leg from aluminum compared to a 17.4mm/0.68″ leg from CF – the thicker leg is very clearly more stable).
- Sections – Tripods typically come at either 3 or 4 sections. Now, typically 3 section tripods are larger, and since they only have two locks that you need open – opening them up is faster. The downside is that for the same maximum height, a 3 section tripod will usually be quite a bit longer when closed down and thus less portable (for the same max height tripod the difference in folded length of the tripod can easily be between 10-20 percent).The more common 4 section tripods will close down to a more portable size but will typically take you a little bit more time to open and close due to the extra locks. Also – the last section on a 4 section tripod has a smaller diameter – hence less stability (as we have shown). This is why most travel tripods have 4 sections and it is more common to find studio tripods with 3 sections. Finally, if you happen to come across a 5 section tripod – these are typically ultra-portable models and we shall look at a couple of those during our review series.
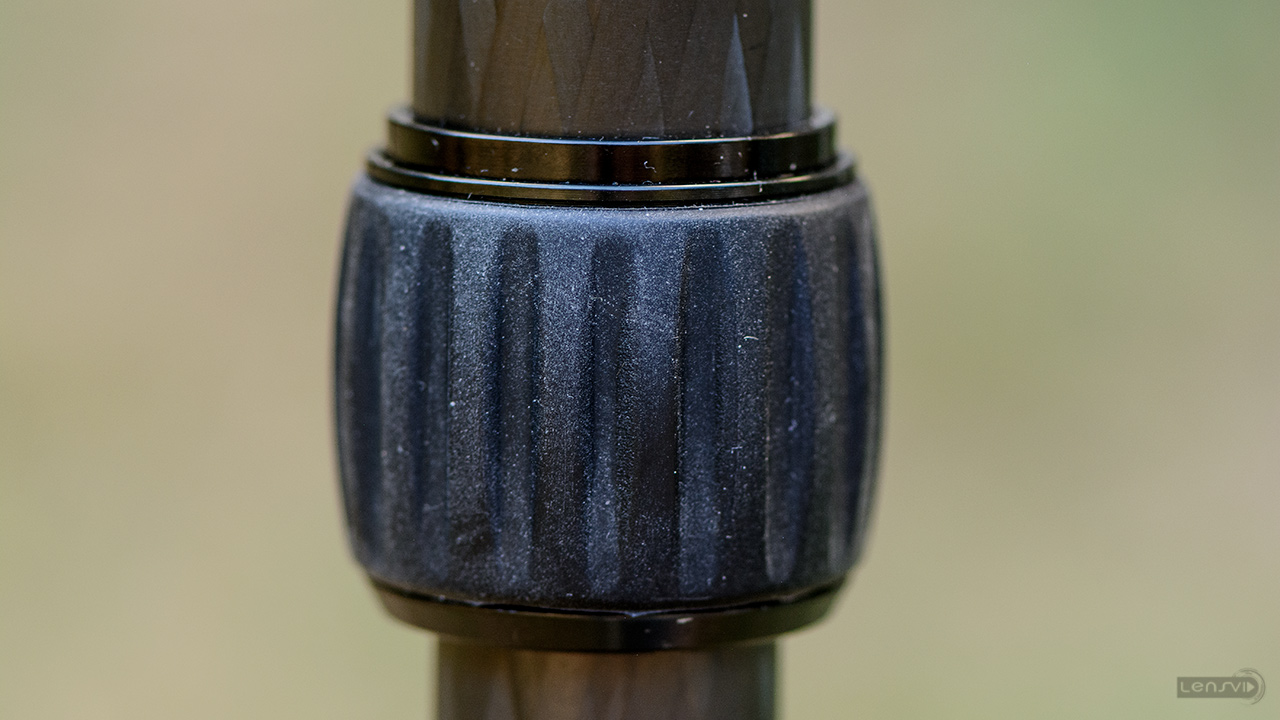
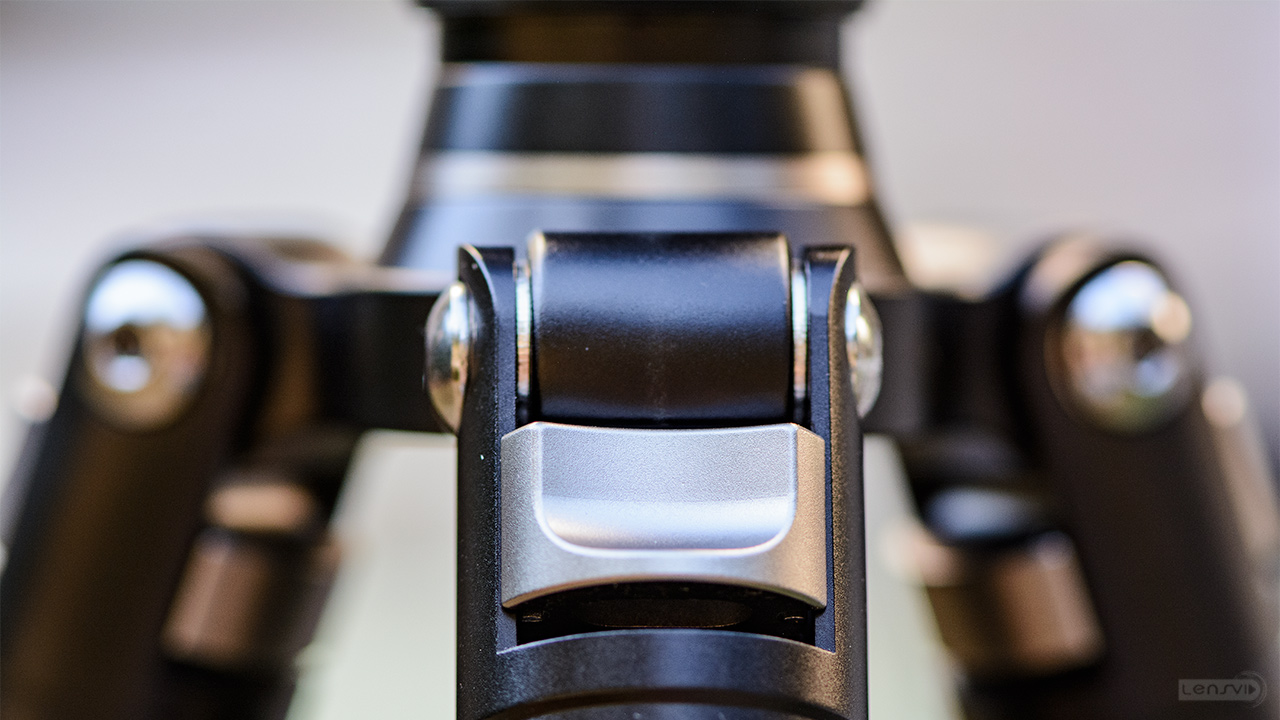
- Leg locks – there are two main locking mechanisms for tripods– flip and twist. There is no right or wrong here and there are people who prefer both types. Generally speaking – opening a flip lock is faster and can be done with one hand (something that can be harder with a twist lock). However, it is harder to open several of them together like you can with some twist locks and many of them require a tool to disassemble which you typically don’t need with a twist lock.It is worth mentioning that most high-end manufacturers use twist locks rather than flip locks – so maybe there is something here after all, but of course, you should try both and see what feels better for you. Also worth noting are some special mechanisms on some heavy-duty studio tripods that allow faster opening and closing of the legs without the locks and some manufacturers also claim a single hand operation (although we will have test out these claims ourselves).
–
Twist leg lock
- Leg opening angles – one thing that we didn’t mention in the video guide but is actually important to add is the opening angles of the legs. In the past tripods had only a single angle (besides the closed position of course). Modern tripods can have 3 or even 4 angles – this is a complex mechanism which needs to keep the tripod looked firmly in each position but still be easy enough to move from one position to the next.
–
Leg angle mechanism
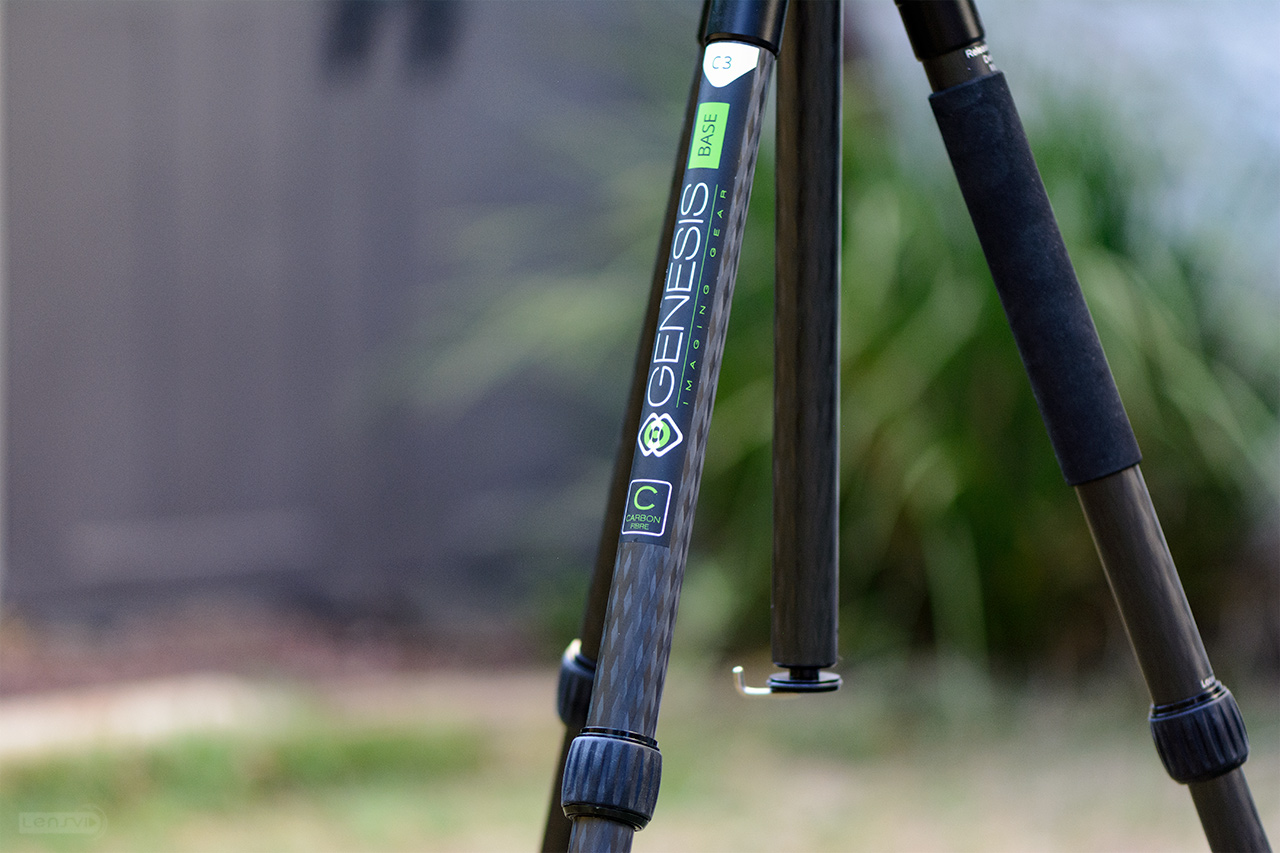
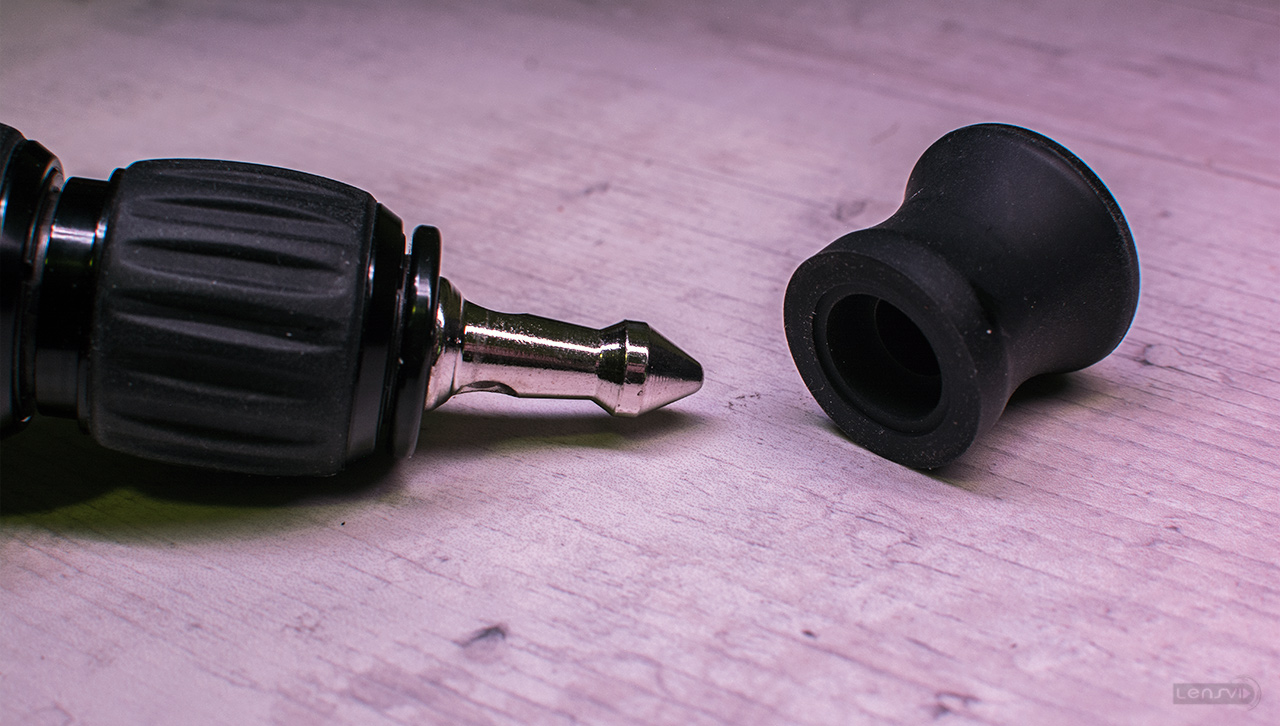
- Spikes – if you have any plans of using your tripod outdoors, having spikes at the tips of the tripod legs is a really good idea – check that the tripod that you are planning to get has them. Also, check if they are installed inside the tripod or you need to carry them and switch the leg tips each time you need to use them (not a good idea for a travel tripod but could be an O.K. compromise for a larger all-around or studio tripod).
–
Spiked Leg on a Genesis C3 tripod
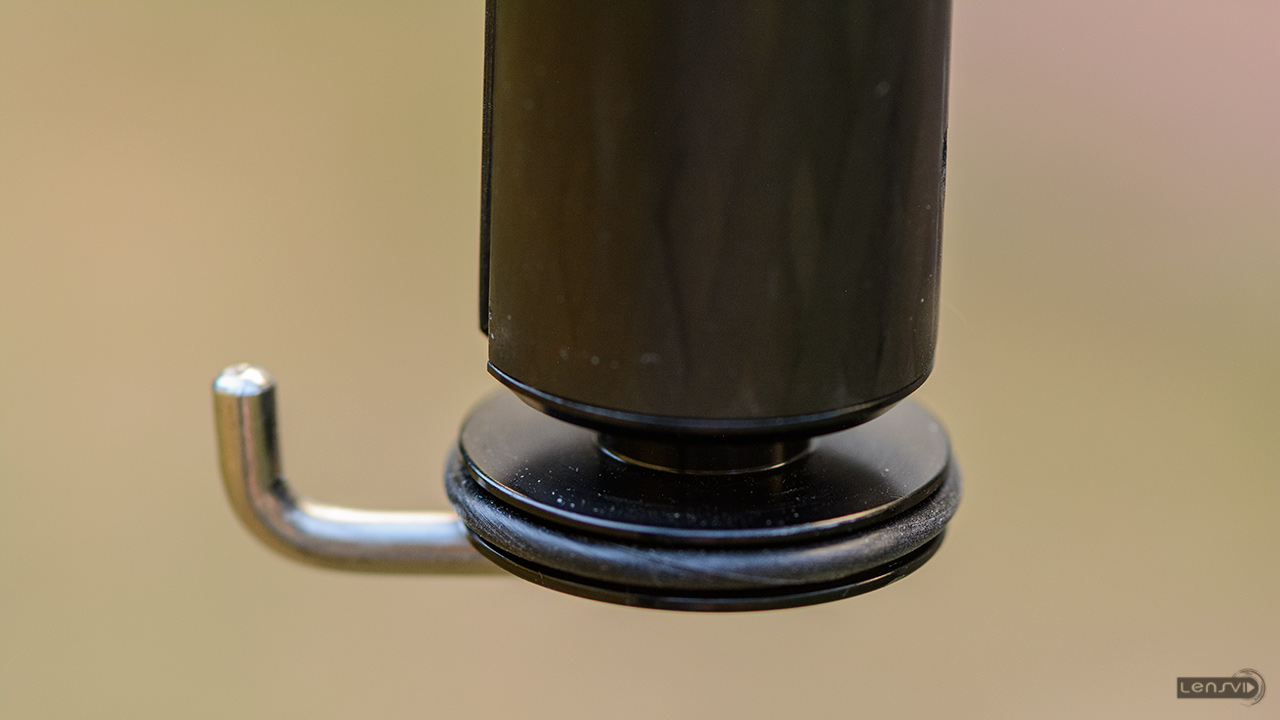
- Stabilising hook – Small feature but a very helpful one – is a tiny hook typically below the center column (some manufacturers place it in the area around the center column) – this hook can hold a sandbag, a bottle of water, or two in a bag, or even your camera bag if the tripod is high enough (we even used an actual weight in the video which really gave us some stability) – all these will give you weight and stability in windy conditions. Most tripods have them, but not all – so make sure you get one with a hook.
–
Hook under the center column
- Special features – Finally we have a few more specialized features which might be important to some and a nice bonus for others:
- Monopod option – This feature exists in quite a few modern tripods (especially travel tripods) and is the ability to turn one of the tripod legs into a monopod – this can save you money if you need a monopod, but just remember to check how easy it is to connect and disconnect the leg. Also, at least one manufacturer we talked to commented that adding this feature might reduce the lifespan of the tripod (another thing that can fail we guess), so take this into consideration.
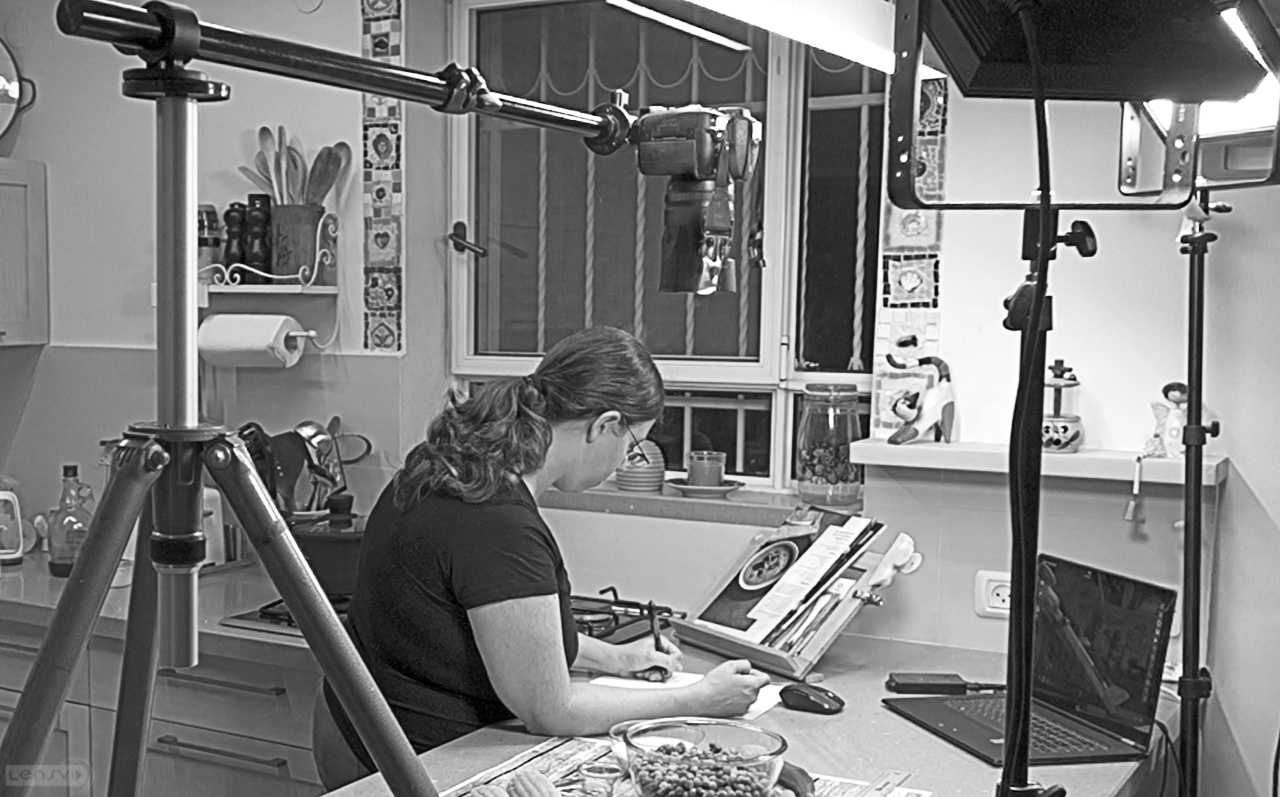
- Horizontal center column – This feature is a bit rarer but there are a few manufacturers that integrated it into their tripods – it has different names but what it does is more or less the same – it allows you to move the center column of the tripod into a horizontal position – thus allowing you to shoot straight downwards – very useful for example when trying to shot food or products on a table. Note that there are also accessories that can perform the same functionality (like this Photek Trix-2500 that we shall review here soon).
–
Using an external horizontal column (Photek Trix-2500) for food photography
- Crank – some heavy-duty tripods come with a crank for the center column – if you are looking for precise control over the height of your tripod – this is the perfect feature to have. This is a delicate mechanism that also needs to support a lot of weight so adding it will add weight and cost and a good one will probably be made from more metal than anything else (cheaper ones are made out of plastic and might not survive for long).
- Protective foam – if you are going to use your tripod in cold weather or even if you plan to carry it on your shoulder outdoors like a lot of wildlife and nature photographers do, it is nice to have some padding on the legs. Some tripods come with one or more of the legs covered in foam but always remember that you can buy a dedicated tripod leg foam covers (like this version we showed in the video by the guys at lenscoat), or even make a DIY foam cover for your tripod using pipe insulation for a few dollars (and some Gaffers Tape) if you really want to save money.
- Spirit level – some tripods come with a built-in spirit level. This is a nice addition but since most heads have a bubble level as well, and many cameras today have digital leveling features – it really isn’t that important.
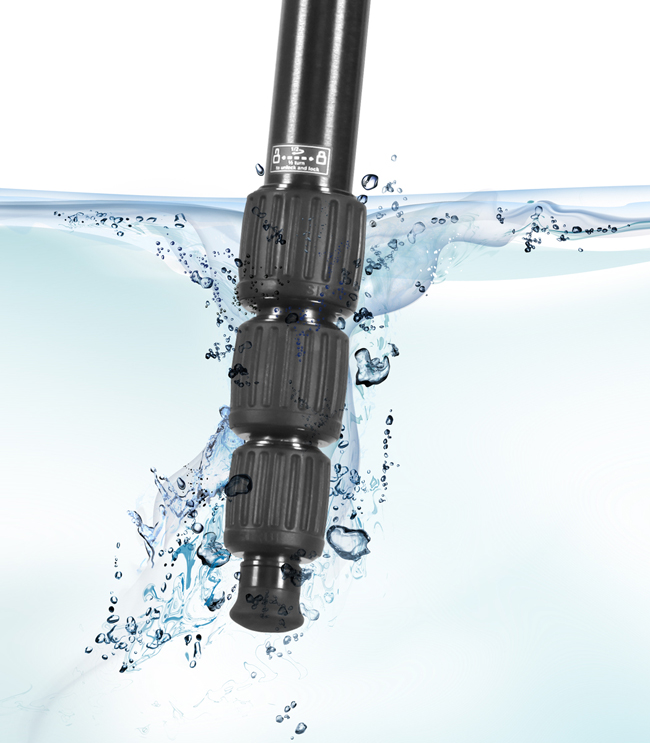
- Waterproof design – If you plan on doing a lot of shooting near, or actually in water – for example, shoreline landscape photography where you tripod needs to be partially submerged for long periods of time, you might want to look at tripods which are designed to work in water – Both Gitzo (Ocean Tripod series), Sirui (SIRUI W Series “Wind & Wave” series) and a few other manufacturers have special lines that claim to be designed with this application in mind.
–
Sirui-Waterproof-Tripod
- Accessory port – and accessory port on the tripod can be really helpful for attaching things such as lights, reflectors and sound recording or monitors to the side of the tripod – these are not very common (Manfrotto seemed to start this concept with a number of their tripods – see here) but can be a useful thing if you have lots of accessories you need to handle while shooting next to you.

Besides all these things – our biggest suggestion to you is that you physically try the tripod you want to buy yourself – either in a store or if you can, borrow one from a friend – you might realize that it is or isn’t what you were looking for just by trying it out – something that you can’t really do when looking online.
A quick look at tripod heads
Before we wrap things up I would like to say a few words about heads. This guide focused on tripods but heads are no less important and we might do a separate guide for them later on. In the meantime, we briefly want to cover the different types of heads that exist and what they do.
You will also find more info on most of these in the detailed tripod head reviews coming to LensVid in the near future.
Here are the main types of heads that exist on the market today:
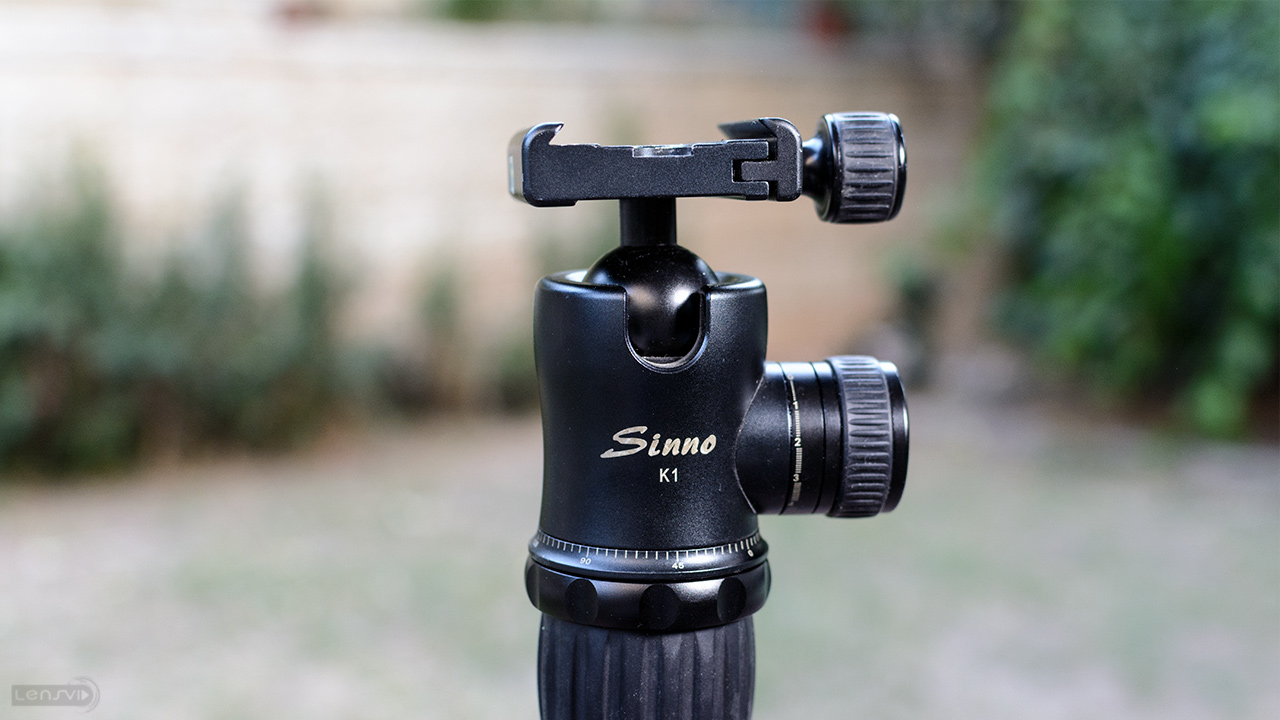
- Ballhead – The most common type of tripod head is a ballhead. It uses a ball in the center which holds the camera using a quick-release plate (very basic ballheads might not include a quick release as well as some very high-end models which let you choose your own quick release system – more on that below).
–
A basic Balleahd
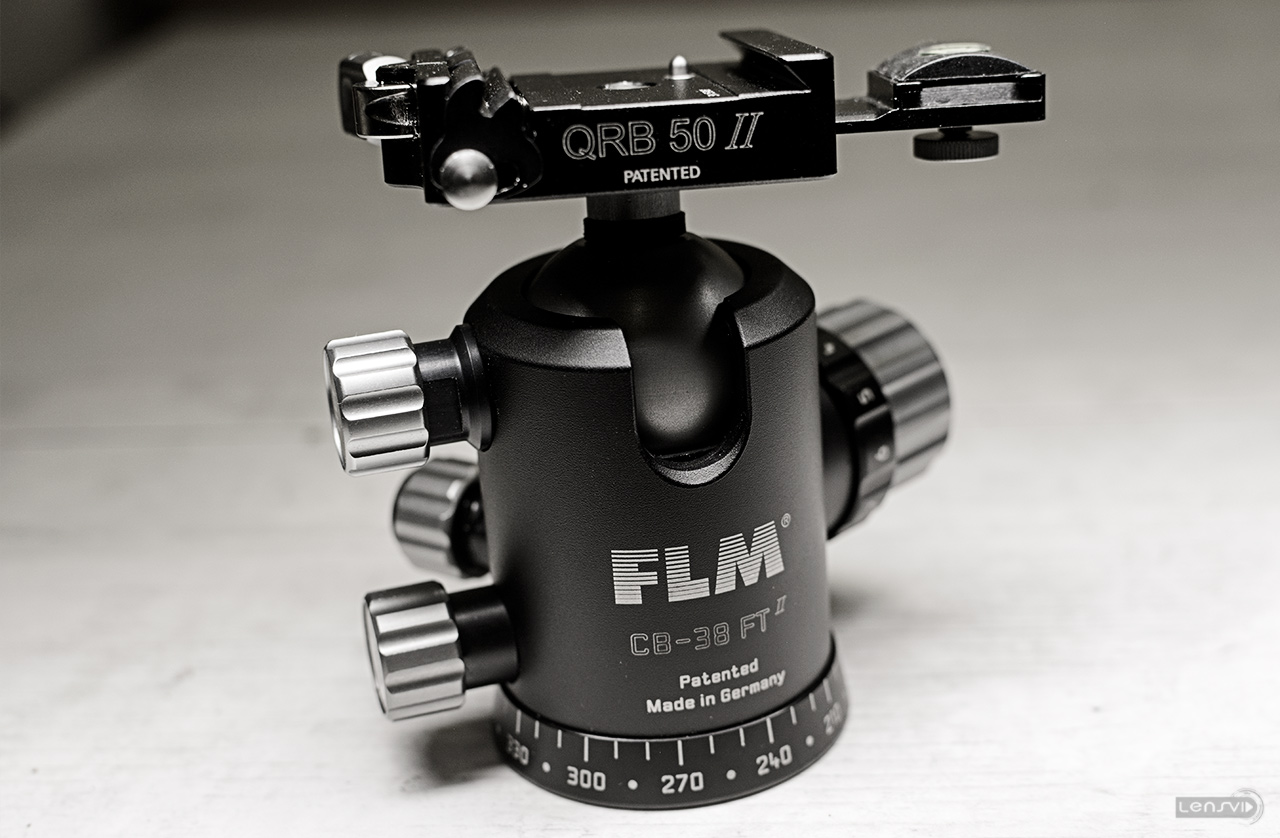
Typically the larger the ball the more carrying capacity you get (there are more factors of course). There are very basic ballheads that come as kits with many tripods but there are also some very advanced ones that can cost as much as a high-end tripod. Most ballheads use a knob which opens the ball to rotate on all 3 axes, although some advanced models can be set to control the movement more precisely and we shall be looking at a few of those during this series.
–
An Advanced high-end ballhead by FLM (review coming soon)
- Pistol grip head – A pistol grip is a variation on the ballhead but it uses a handle that gives you a lot more control over the movement of the head and lets you easily set the exact position of the head by pressing and then releasing the trigger. Some advanced pistol grip heads can also control the movement of the head for one specific axis.
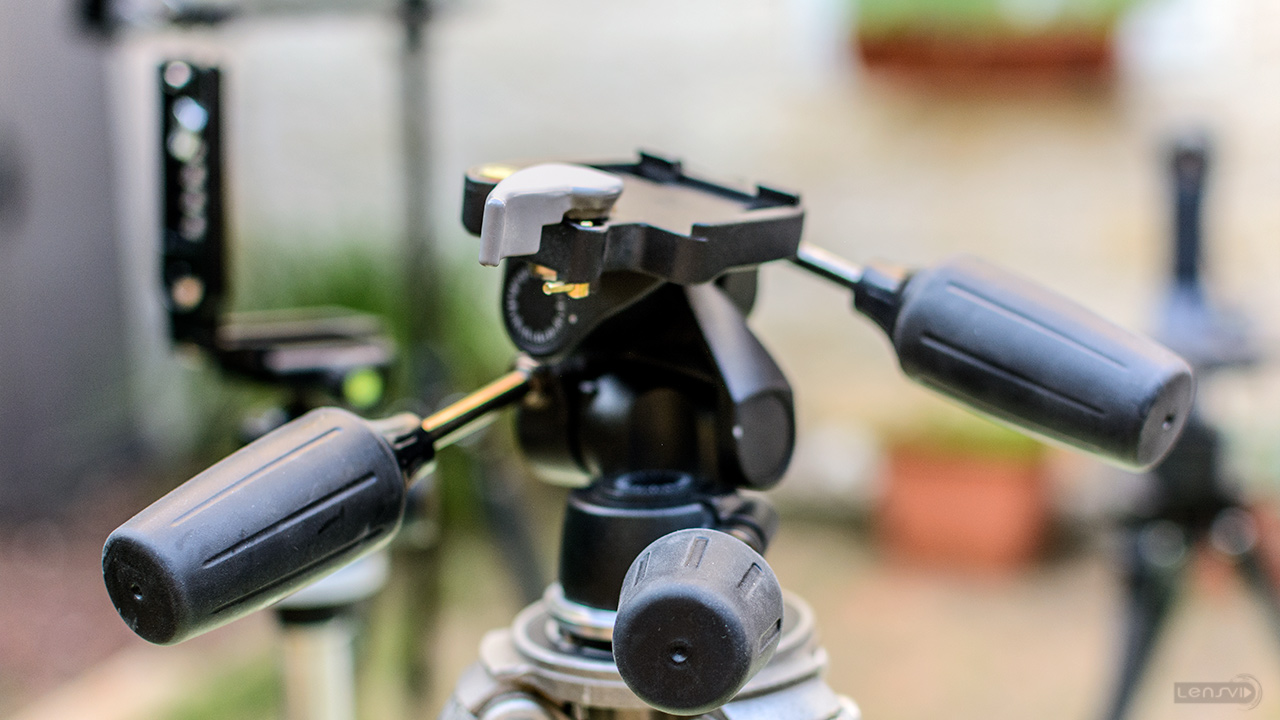
- 3-way head – A 3-way head gives you separate control over each of the 3-axis using different knobs. It can be much more precise than a conventional ballhead but it is typically larger (has three handles) and using it is more about control and less about speed. It is also worth mentioning that you can buy a simple tilt head which allows you to control only one axis. These types of heads are typically used with monopods, but you can combine them with a small leveling pan base to create a compact 3-way head alternative if you are in a pinch.
–
A 3 Way Head
- Geared Head – For ultimate control, a geared head takes the 3-way head a step further. Using a geared head you don’t just have individual control over each of the head axis, you also have precise gears that allow you to micro-adjust the position of the camera on each axis (you can think about this like an advanced 3-way macro rail). Geared heads are usually larger and more expensive than normal 3-way heads, although somewhat lower-cost options are now available from Manfrotto and Sunwayfoto (which now seems very hard to come by outside aliexpress). There is even a geared ballhead designed by KPS (called the KPS T5) which tried to combine the advantages of both types of heads.
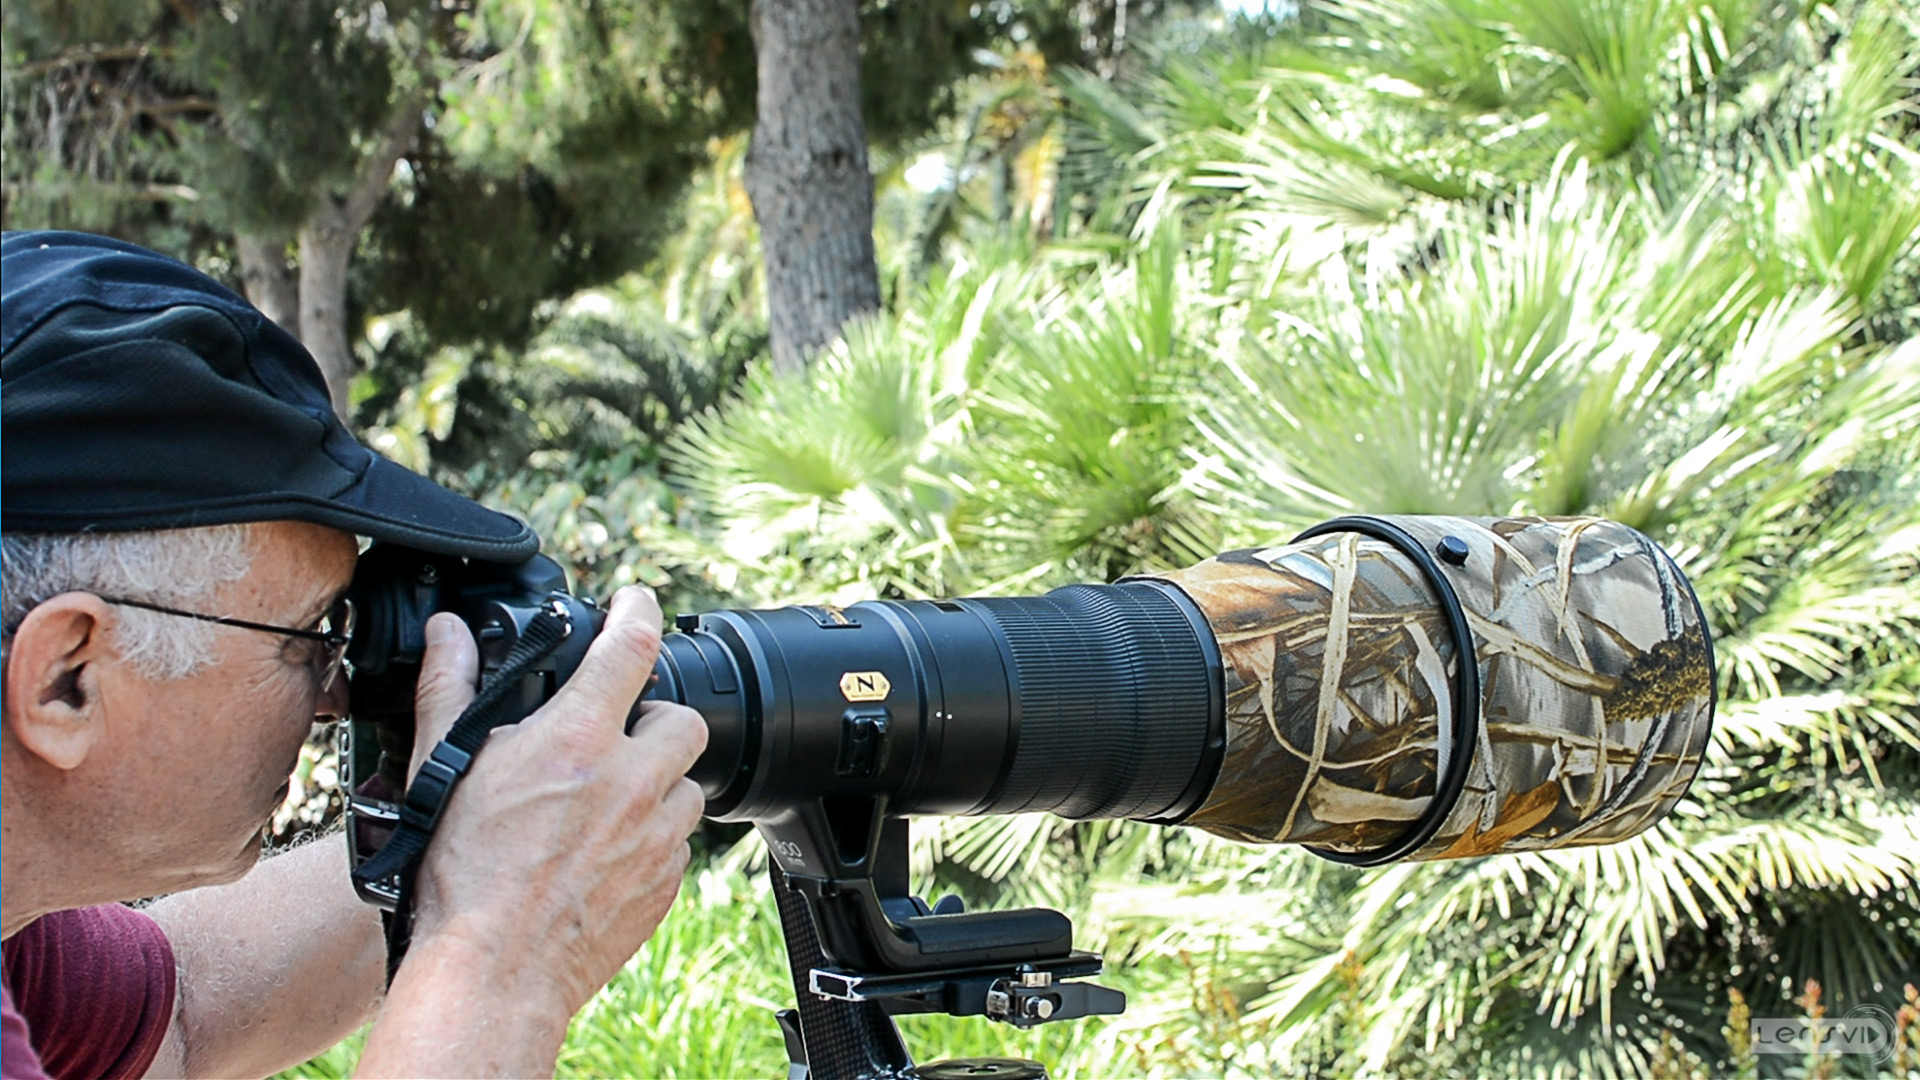
- Gimbal head – if you have a long, heavy telephoto lens – one of the best ways to handle it is by using a gimbal head which will typically hold the collar of the lens and allow for quick and free movement of the lens. Some gimbal heads will also have good counterbalance so that you could position your camera and lens in any angle and they will stay that way without tipping down. You can see more on our extensive Zenelli Carbon fiber gimbal head review.
–
Photographer Yossi Eshbol with his D4S and 800mm lens using the Zenelli CARBONZX gimabl
- Fluid head – so far we covered mostly stills heads (although you can of course shot the video with more or less any of the heads we mentioned). Fluid heads however are dedicated video heads that have very smooth pan and tilt movement. Many fluid heads have drag control for both the pan and tilt as well as counterbalance for keeping the camera stationary in any position. Some of the larger fluid heads are designed to carry very heavy loads associated with professional video and broadcast equipment. Finally, you do need to make sure that the fluid head that you are getting fits your tripod, as some fluid heads come with a flat base and a 3/8″ connector – just like stills heads, while others connect to video tripods (which are built quite differently than the stills tripods that we looked at for this guide – as you can see in the video) that accept either 65mm/75mm or a 100mm ball.
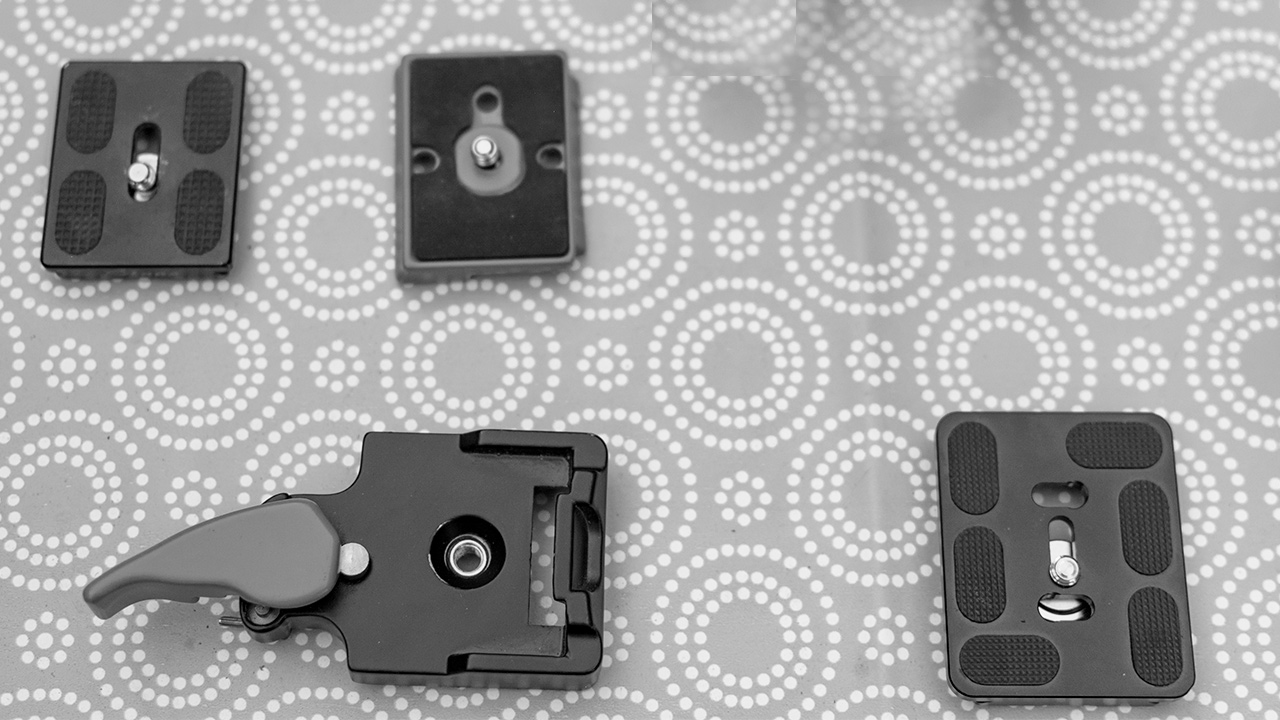
Before we wrap things up a word about quick release systems. They are the main method for connecting your camera to the head. There are quite a few systems and many manufacturers created their own unique types (something which tends to give everybody in the business a headache). Maybe the most common system is called Arca Swiss (by a company with the same name) which has compatible systems made by most tripod manufacturers (you can see this video by Craig Shipp for a demo and we shall cover this topic in more depth in one of the upcoming head reviews in this series. We shall note that we actually prefer Manfrotto’s RC2 system whenever we are using a small-medium camera-lens system.–
A few quick release plates (and a base)
 Conclusion
We hope this guide was helpful to you. Our tripods and heads review series will start soon and we will be looking at all the features that we just mentioned here on quite a few tripods and heads from quite a few manufacturers.
You can check out more LensVid exclusive articles and reviews on the following link.
Update: We now have a whole new subsection dedicated to tripods for you to check out with new releases and reviews plus lots of info and videos.
You can support LensVid by shopping with our affiliate partners
Affiliates: Amazon, B&H, Adorama and E-bay.
Why should you trust us?