In this video, Blake Rudis from f64 Academy showcases a very interesting technique for creating and using a reflected gradient in Photoshop for several different types of shots and also shares ways of automating the use of these techniques.
What is a reflected gradient in Photoshop?
You can find the reflected gradient in the adjustment layer section at the top of the list just after “solid color”. The default result doesn’t give you something very useful. However, if you know how to tweak the different settings – you will see that it can actually be a very powerful tool.
First, you need to understand how the gradient works. It starts from the lower portion of the image and goes up. You can control the amount by turning the “scale” dial. So far we talked about the gradient adjustment layer as a whole, now let’s talk about the reflected gradient which you can choose from the style menu.
In this mode, the gradient starts from the middle and works outwards in both directions. You can change the angle. This is useful but still does not typically look very good, so what you can do is add light and color to the gradient.
For the first image Rudis choose yellow to be somewhat less saturated yellow. This still doesn’t look good so what you need to do now is choose to use this layer as a “linear light” and change the amount with fill to around 15%(opacity doesn’t work that well in this case).
Please keep in mind that while the topic of this tutorial is reflected gradient – you can change the type of gradient to radial (if you want a more circular shape) or linear, etc.
At this point, if you want to mask out some parts of the adjustment layer you can do that by painting black on the mask but you can also use the “blend if” by double-clicking on the adjustment layer and play with the blend if to protect brighter and darker areas of the photo.
In the next sections, Rudis gives more examples and some tips including how to bring this reflected gradient behind your subject and how to see the angle that you make using the Photoshop Navigator screen. He also demonstrates how you can get a lot more creative with this technique when working on a portrait with a reverse gradient applied as well.
Time for action(s)
Rudis was kind enough to make 3 different simple to use actions that will allow you to punch in all those numbers to get the perfect Reflected Gradient – all you need to do is choose how strong you want the effect to be and choose the colors of the gradient according to the video.
You can download the pack from here.
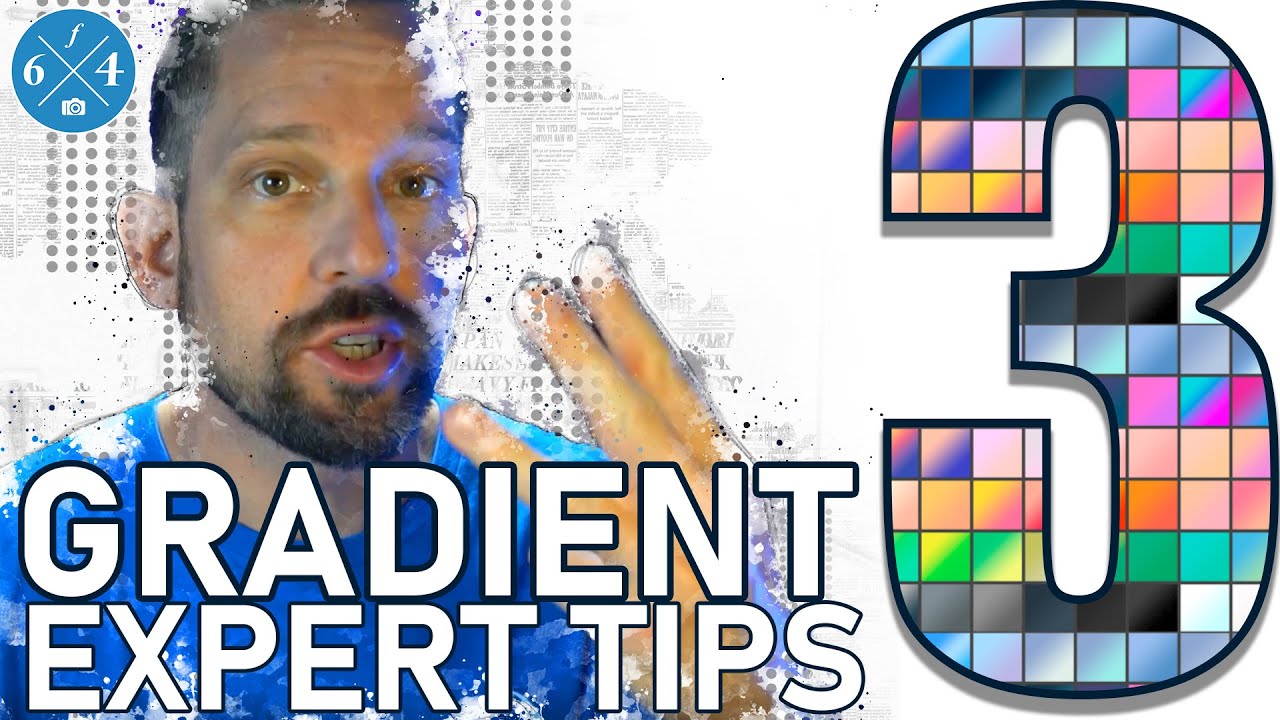
Bonus video: 3 Expert Tips for Gradient Management in Photoshop

You can find many more Photoshop video tutorials on LensVid’s Photoshop section. We have published several articles covering videos by Rudis which you can find here.

You can support LensVid by shopping with our affiliate partners
Affiliates: Amazon, B&H, Adorama and E-bay.
Why should you trust us?