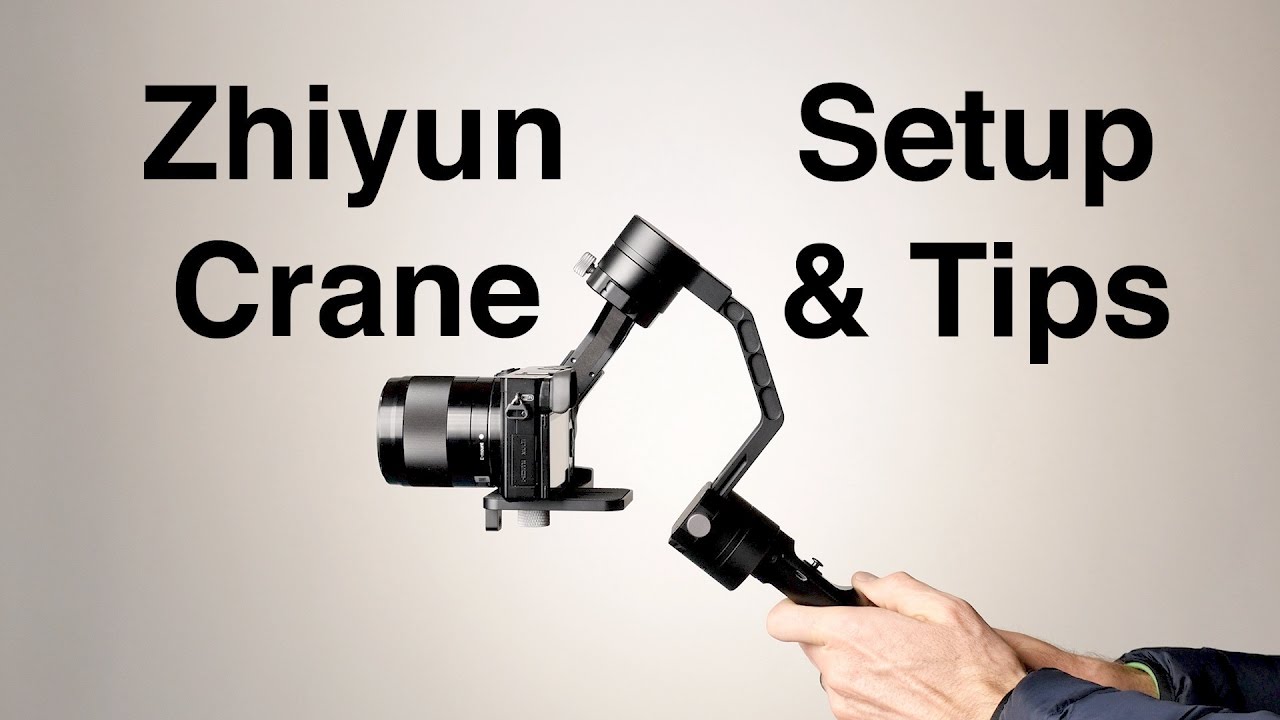
Today we are going to take a look at the updated version of the Zhiyun Tech Crane motorized gimbal.
Before we start, a little clarification about the name of the gimabl. We are testing the updated Crane gimbal (Crane 1 ver. 2) and not what Zhiyun Tech calls the Crane 2. The company released the original Crane gimbal about two years ago and the updated version that we are testing today, which many users mistakenly referred to as Crane 2, was released several months ago with a few minor but useful updates including a new plate system.
A few weeks ago the company decided to release a completely new version which it called Crane 2 – that gimbal has a significantly increased payload of 3.2kg, OLED screen and even the first ever built in follow focus, although at the moment it only supports Canon cameras due to camera manufacturer limitations. Personally, we would just go with Crane 3 or a completely different name, but at least now you know how to recognize each model.
This is going to be a review made from the point of view of a first-time pro gimbal user, so this should give you at least some understanding of what to expect when you start using this thing. This will not be a tutorial on how to set up and use the gimbal but we shall link to some of those in the end of this review.
The Crane v.2 (not to be confused with the Crane 2)

Build quality and packaging
The crane comes in a very nice hard case which is becoming more and more common in the industry these days. It is a great way to protect your gimbal but keep in mind that you will need to keep the unit partially dismantled inside and there is a chance that it will need a bit of re-calibration (or balancing) after storing it in the case so whenever possible we suggest keeping it fully assembled.
There are a few different kits that you can buy – we got the one with the crane, two batteries, a USB charger two screws and a lens holder in case you are using a front-heavy lens with the gimbal. Other kits also come with a tabletop tripod which we highly recommend to hold your gimbal on any flat surface. We used a small Manfrotto tripod but we don’t recommend it for this use as it is too tall and the ballhead isn’t strong enough.
Get the crane with a good (low) tabletop tripod

The gimbal itself has excellent built quality – it is fully made of metal and feels very robust – definitely a high-quality product.
The crane weighs just under 1.2kg or 41 ounces (with batteries and our added quick release base if you add a plate it goes just over 1.2kg) and it is about 37cm or 15 inches tall. We would prefer if there was a way to make it shorter by using only a single battery – but maybe this does not give the unit enough power for the motors.
The unit has 3 powerful motors with a max payload of 1.8kg or just under 4lbs and a minimum payload of 350g or 0.77lbs so this is not the right tool for those small compact cameras – the Crane M is probably a better choice for that.
On the handle you have an on/off and a camera button, a mode button a joystick and a zoom switch for supported cameras and lenses which does require a special Zhiyun cable which we did not happen to possess at the time of the review.
We added an RC2 quick release base – highly recommended

Setup
The most important step in the setup of the gimbal is balancing. This is not a product that you can just attach your camera to, switch on and start shooting. You need to go through at least several minutes of pretty delicate balance of each axis and even though we have done this a few times it still takes us some of time – every time we need to repeat it (which is whenever we change a lens, camera or the gimbal somehow goes out of balance which can happen).
One nice feature which the original Crane did not have is a plate that can move where you can connect your camera. We connected an RC2 base to it and we highly recommend that you will do the same as it makes the connection of the camera to the gimbal that much easier.
You will need to spend time (especially the first few times) to set up the balance of your camera and lens combo. This can take several minutes or more, depending on your setup and how exact you can get with it (we shall link to some videos on the process below). Our only real advice is that you spend the time to do this right even if this doesn’t seem to work at first – there is a learning curve but the more you do this the better and faster you become.
The second part of the setup process has to do with the app. Zhiyun Tech introduced the Zhiyun assistant (for iOS or Android) which we also used to control and calibrate the Smooth Q gimbal (see our review). The app allows you to control your gimbal – for example if you are using it as a sort of a robotic head when placed on a tripod (it has a 1/4″ 20 thread on the bottom), you can use it to do some extra calibration (again – link on how to do that below) and maybe the most important part – you can change many of the gimbal settings which we highly recommend. For example, we find the speed of the movement of the gimbal to be far too fast for our taste (we shall have a video on that as well below).
Actual use
We are still in the process of learning how to best use the crane. There are many factors which affect the end result and those have more to do with the setup and the way you operate the unit than how the gimbal itself works.
One thing that we have noticed is that with some movements you can definitely cause the camera or the lens to hit one of the arms or motors. You can certainly learn how to avoid doing this but keep this in mind and it can be annoying at first.
We really like the idea that you can attach the gimbal to a tripod and do mini crane like shots. It isn’t really a full substitute for a crane but it can be useful in some situations. We discover, and we are still trying to figure this out, a small pan that the gimbal does when doing extensive up or down movements (see example in our video) – we are not sure if this is something with our setup or something else at play but this should probably not happen.
Just like with the smooth Q smartphone gimbal that we tested before we really wished there was a way to know what mode you are in at any given moment (Zhiyun did add a small info screen to the new Crane 2 so they ARE listening to their costumes). The modes themselves are exactly the same as the smooth Q:
- Follow – the initial state when you turn the gimbal on – the camera will move with your hand left or right and you can control the up and down or pitch movement with the joystick.
- Lock – the camera is locked in position it will try and keep the camera orientation as you move the gimbal. The joystick work in this mode in all directions (pitch and pan).
- Full – This is similar to the follow mode (the camera will follow your movements) but in this mode, you can control the roll or incline of the camera (pitch and pan are disabled).
- Selfie (backward mode) – The camera turns to shoot the user.
In general, we would say that from our experience the way you hold the gimbal and the way you walk with it are extremely important (hold it with two hands close to you and roll your foot when you step while keeping your legs bent a little). We also believe that using the two-handed accessory of the crane cane significantly increase the stability and end result in most situations and we are hoping to try working with that unit soon.
Conclusion
The Crane version 2 is a super popular motorized gimbal and for good reason, it works well, is very well built, has amazing battery life (we still didn’t have to recharge it and we used it for many hours in our testing) as well tons of useful optional accessories (two-handed handle, remote and more).
Like more or less all of the current generation of gimbals setting up and balancing the unit can take time – we are really waiting for some sort of new technology that will save us this headache but for the time being this is something that you need to live with. The lack of information display is something that we would like to see addressed by the manufacturer and although you can get used to memorizing which mode you are in at any given time we would really like to just look and see. Finally having the ability to just set the angle of your camera when the gimbal is working would be great – this is a feature that a few other gimbals have and Zhiyun did add in the newer version as well.
Good control but no info display

The Crane version 2 currently sells for around $550 with the newer Crane 2 selling for around $200 more. Although the extra features on the new version, such as the OLED screen and the follow focus – which currently only support Canon cameras, seems great, if you can live without them and don’t need the extra carrying capacity – the crane version 2 is still a sure bet and will do the job very well.
Crane gimbal resources
We promised to bring you a few helpful videos that will give you more info and a few tutorials on actually setting up and using the Crane so here we go:
Josh from Momentum Productions on balancing the Crane

Curtis Judd on balancing and setting up the gimbal (done with ver. 1 but should apply to all Cranes)
Step by step Crane calibration (through the app)

Joshua Morin on different settings for the Crane (in the app)

Some useful techniques for using the Crane (and basically any gimbal) in a creative way

Finally here is Dave Dugdale on the Crane 2 and the Crane (ver. 2) vs. Crane M:

You can check out more LensVid exclusive articles and reviews on the following link.
You can support LensVid by shopping with our affiliate partners
Affiliates: Amazon, B&H, Adorama and E-bay.
Why should you trust us?