Today we are looking at the GM55 5.5’’ field monitor made by Godox. This is an affordable option that offers lots of assist tools and includes some interesting innovations.
Godox
Godox has already become a solid name in the photography market, offering quality affordable continuous and strobe lighting solutions and accessories.
Recently, the company has been branching out to include wireless audio systems and now monitors. The GM55 is the first monitor the brand offers and based on the high quality of the rest of their innovative products, we know they can make a great device. But they’ll have to innovate in order to stand out from the competition.
Specs
This is a touchscreen monitor that comes with a 4K HDMI output, accurate colors, 160° viewing angle, custom LUT support, and multiple powering options and assist features.
The GM55 is also one of the few field monitors in this price range that comes with a camera control feature.
What’s in the box
Godox ships this monitor with a sturdy plastic clip-on sunshade, tilt support, cables and a cleaning cloth. The camera control cables are sold separately.
Build
The GM55 screen is a 400ppi IPS touchscreen with a 16:9 ratio and a 1920×1080 resolution. Godox calls this a 4K monitor, which can be misleading, since the screen isn’t actually 4K, but rather the HDMI output coming out of the monitor is 4K.
The monitor body is a hard plastic enclosure, weighing just over 300g with the hood on. While it doesn’t feel very solid in the hand, it’s very well put together, with springy buttons and a nice matte finish. The lightweight is a plus when you consider that this is an on-camera monitor.
The body of the monitor features 1/4’’ mounting holes on three of its sides. A big thanks to Godox for adding anti-twist locating holes to all of these mounting holes. These really ought to be standard on all devices by now.
The top of the monitor features 6 programmable function buttons on the left and a clickable menu jog wheel and return button on the right.
The left side doesn’t come with a mounting hole but has full HDMI in and out ports and a 3.5mm jack for monitoring audio. The power button is on the right side of the unit.
Inputs outputs and physical controls
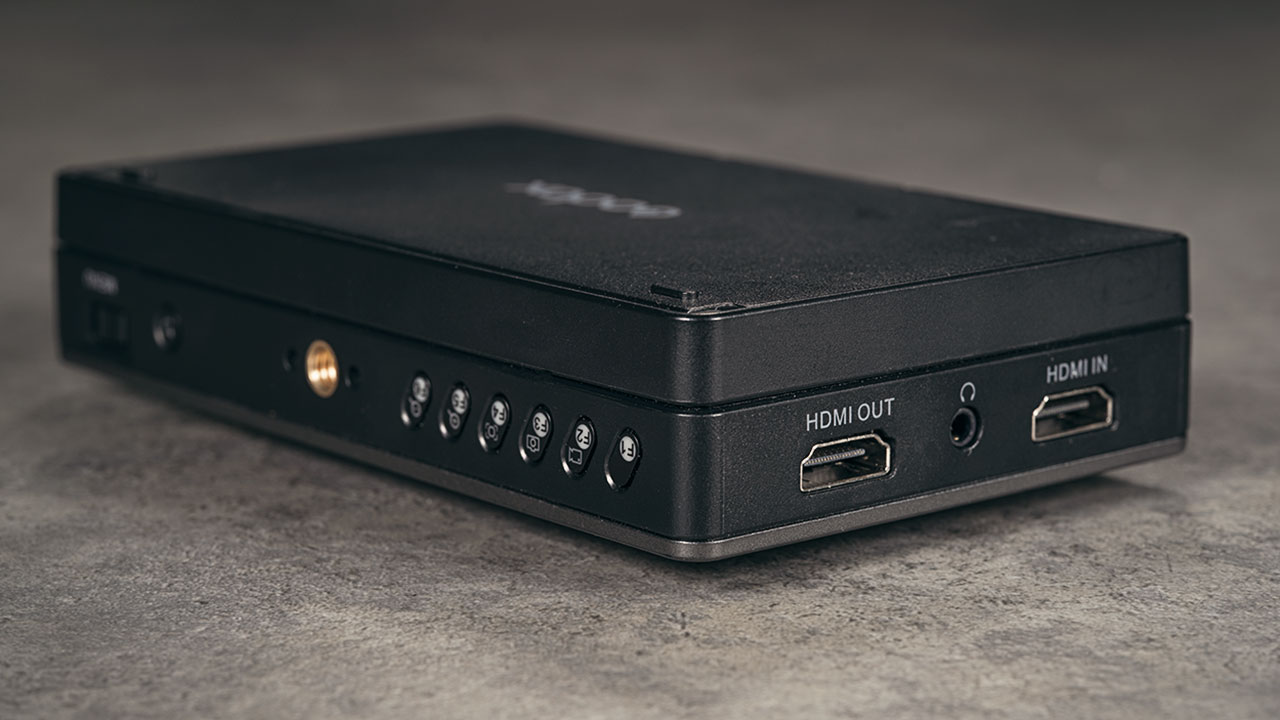
The bottom of the fixture comes with DC in and out ports, an SD card slot for LUTs, and a camera control port.
For power, the unit uses a single L-type battery that connects on the back. The connection features a plastic lock. The mechanism is pretty secure, even with a bigger battery. It is made of plastic, so we wonder how it will hold up after some use. On the back of the unit, there is also another plastic release mechanism for the camera control cable.
The sunshade that’s included with the monitor is refreshingly sturdy. It’s a snap-on design that sits snug, unlike some other velcro style designs that we’ve worked with in the past. It features a spring-loaded foldable structure that is easy to deploy and feels like it’ll stand up to the constant back and forth.
This is a very much-needed accessory for this Godox monitor since the screen is not very bright — only 410 nits, so it would be hard to see anything on the screen in direct sunlight without a hood.
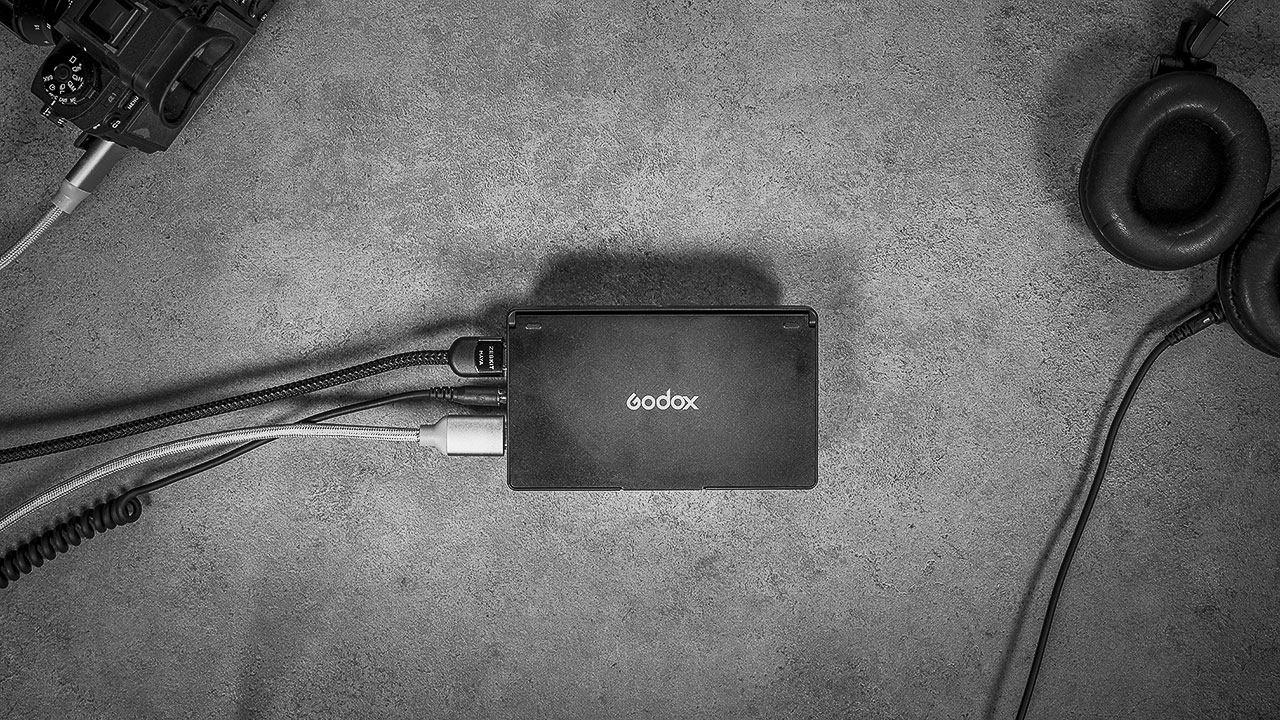
Batteries and Power options
The unit draws power from a single Sony style NP-F battery, but it also features a DC connection that allows you to run the unit indefinitely by connecting to a power outlet (or using a DC to D-tap if you are using a V-mount battery for example). Another useful feature on the monitor is the DC out, which you can use to power the camera with a dummy battery. Common on a lot of monitors today, but still a very welcome addition.
There are no USB power connections on the monitor (unlike some other monitor brands which can be powered via USB-C).
Power options: L mount or DC (but no USB-C)

Buttons
To turn the device on, press the power button on the right side of the unit. It takes around 10 seconds to power up.
The programmable function buttons on the top of the monitor are marked with tiny icons. There are no markings on the front panel. The buttons are pretty small but feel clicky and responsive.
Connections
The HDMI out provides a way to daisy-chain the monitor to another previewing screen. In the studio we connect this GM55 to a big-screen TV, using the monitor assist tools for color and focus while previewing the composition on the TV.
HDMI in and out + 3.5mm headphone jack
Menus
The menu is pretty intuitive on this monitor. You access the menu by clicking on the jog wheel or double-tapping anywhere on the screen. Navigate through the settings using the same jog wheel, or just tap on the screen. There is an extra camera control menu hidden on the right side of the screen. To access it, swipe left from the edge of the screen. Tap anywhere on the screen to hide it.
Among the more interesting features in the menu are the automatic image flip function and programmable user configuration.
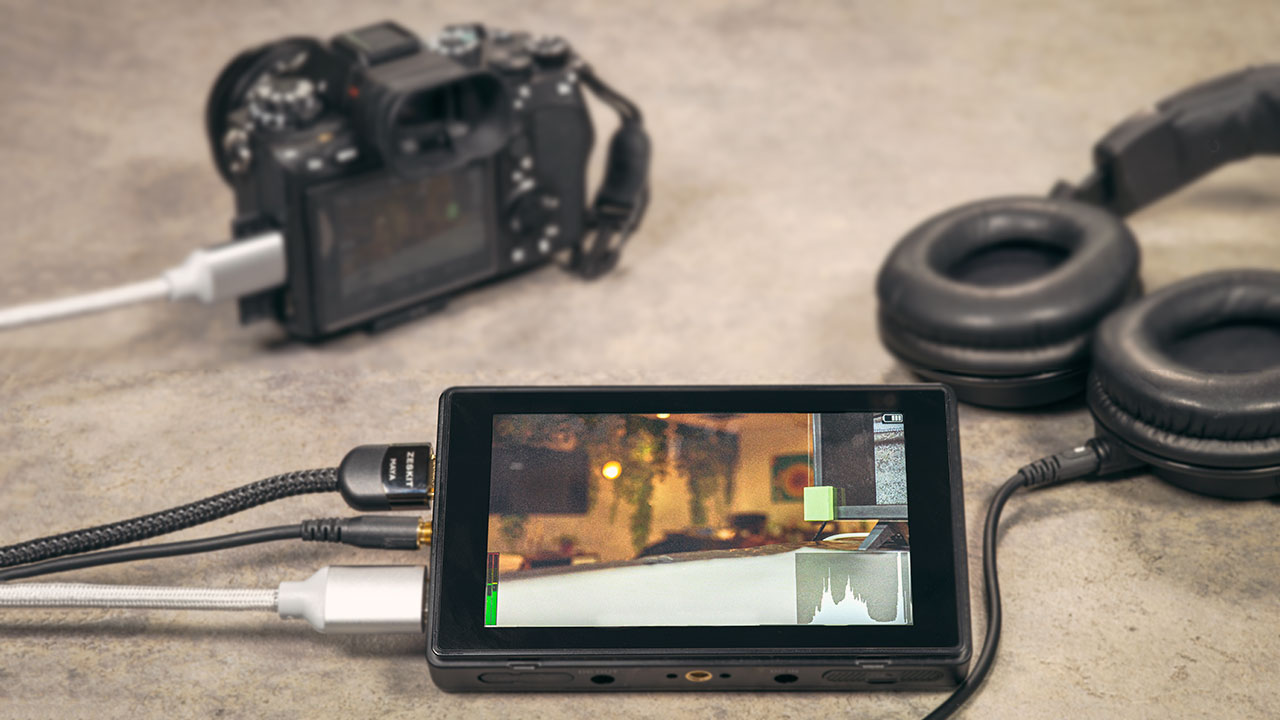
Assist tools

Assist tools
As for assist functions, Godox included customizable-color Focus Assist, 2-mode False Color, Zebras, Monochrome, Pixel to Pixel, Vectorscope, Histogram, Zoom, Markers and Gridlines, and Waveforms.
There is a whole section in the menu to set up the color space, color temperature, Hue, and Saturation.
The top buttons on the monitor are pre-set for camera control, but you can reprogram them to any function that you find most useful, and still have the on-screen menu to control the camera.
Camera control
Camera control is an interesting feature, but we had trouble with using it. Not all of our cameras were compatible, and we found the connection to the camera to be unstable and it sometimes interfered with the HDMI feed.
The on-screen camera control menu is pretty useful since it works kind of like a tally light. When the camera is recording, the button turns from a circle to a square. It’s not the most obvious thing, but it helps. Not sure it Godox can update the interface, but a more visible tally on this screen would be great.
Hopefully, Godox can fix these issues through firmware updates, because we find the remote function to be pretty useful, for example when we shoot on our overhead rig.
Comparison
For reference and as a practical experiment, we compared this monitor to another budget monitor and also to a more premium bright screen monitor.
The most significant advantage that the Portkeys BM5 (Ver. II) monitor has over the GM55 is brightness. You can easily see the Portkeys image, even in bright sunlight, unlike the lower brightness monitors. It also has much better viewing angles but is significantly more expensive and has no HDMI out which we really miss.
As for the difference between the Godox and the Feelworld F5 Pro, the Feelworld offers more power options in the form of a very useful USB-C port (and also a better zoom option, but has no camera control).
- Brightness (nits):
Feelworld: 500
Portkeys: 2000
Godox: 410 - Monitor size (inches):
Feelworld: 5.5
Portkeys: 5
Godox: 5.5 - Weight (grams):
Feelworld: 136
Portkeys: 350
Godox: 320 - Heat (external, to the touch after 1h – our testing):
Feelworld: low
Portkeys: high
Godox: low-mid - Viewing angles (degrees):
Feelworld:160
Portkeys: 178
Godox: 160
Conclusion
In conclusion, and this should come as no surprise, Godox did a good job on this monitor. Even though it’s plastic, it’s well-made, offers all the needed assist tools and customizable colors, and is versatile because of its power and video ports. The camera control feature will be a great addition, once Godox figures out how to make it run smoothly.
Price
As for pricing, Godox GM55 sells for $180 – a great entry price for their first monitor. We hope there are more options in the works from the company in the near future.
You can check out more LensVid exclusive articles and reviews on the following link.
You can support LensVid by shopping with our affiliate partners
Affiliates: Amazon, B&H, Adorama and E-bay.
Why should you trust us?